The Avail Workbench
Now that you've downloaded, installed, configured, and opened the Avail workbench, let's take a tour!
Tour of the workbench
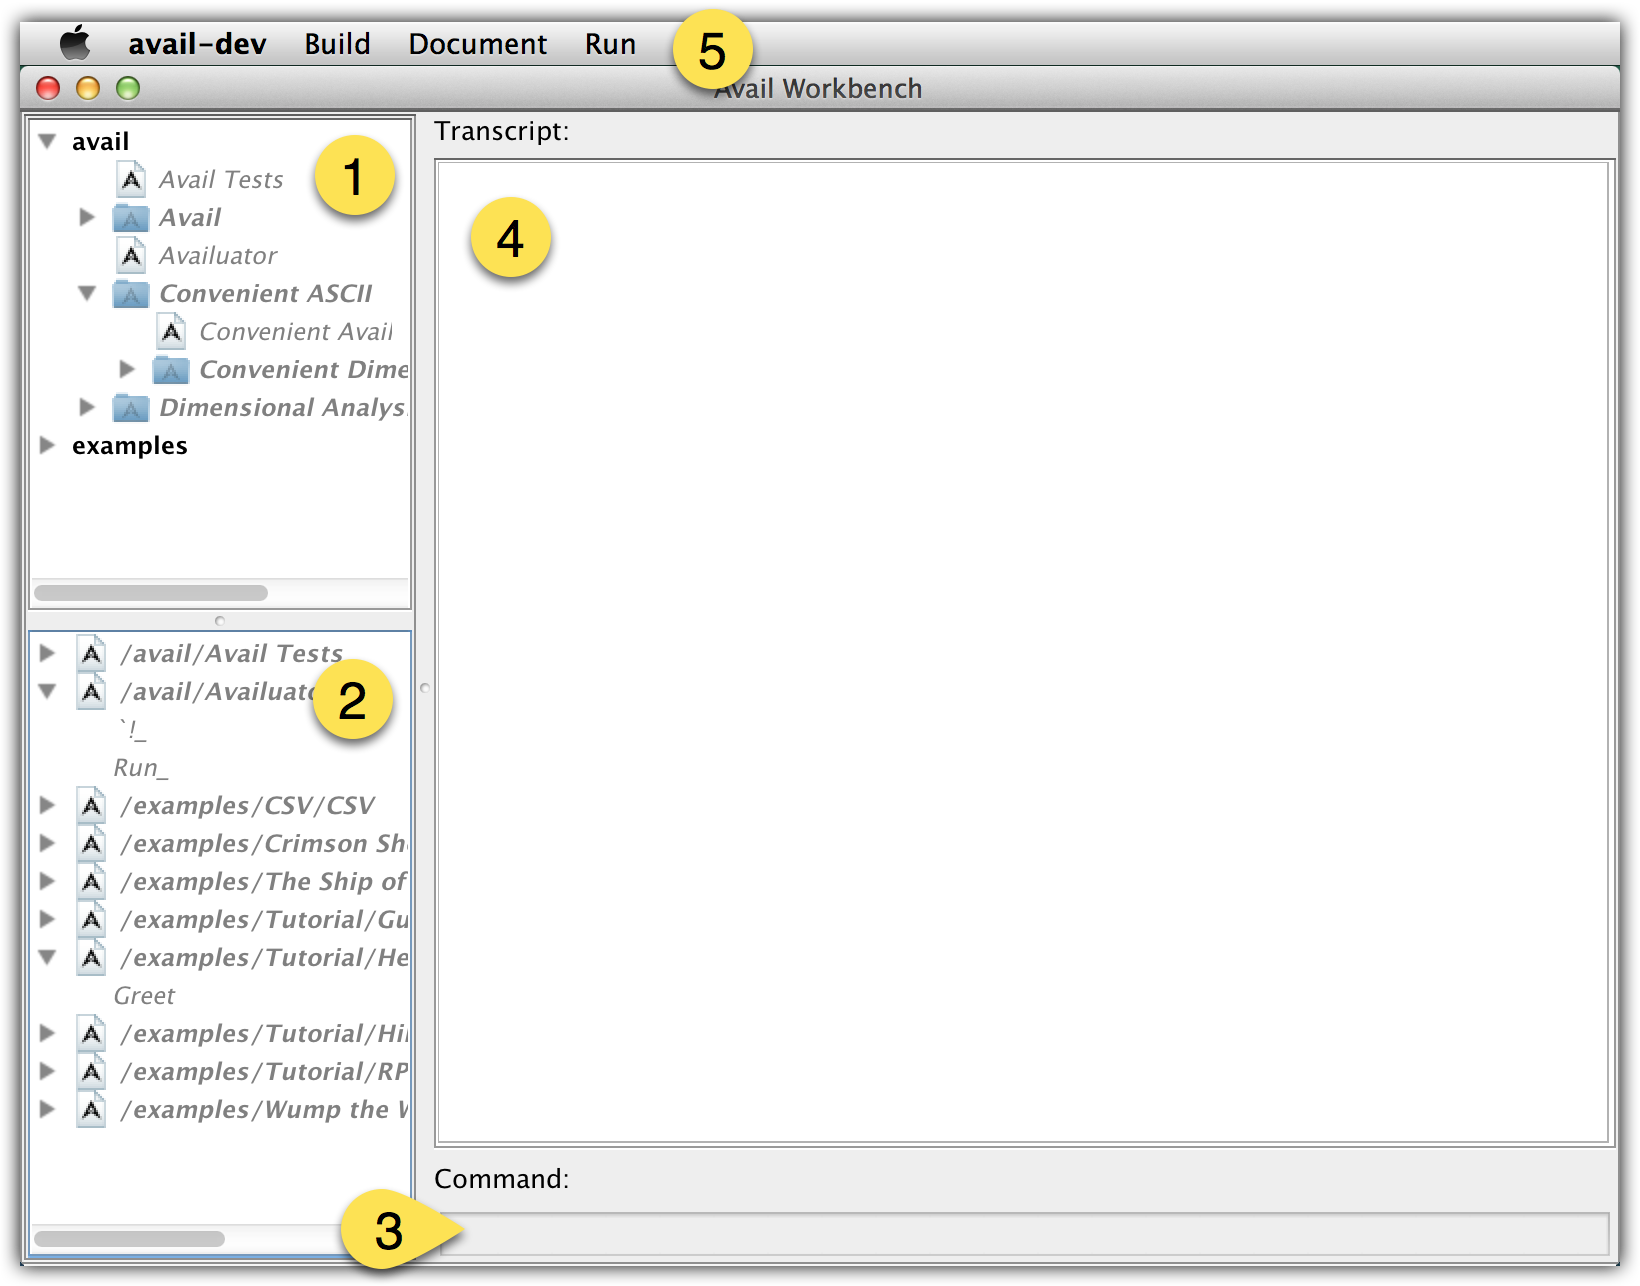
The workbench has five main sections:
- The modules pane
- The entry points pane
- The text input field
- The transcript pane
- The menu bar
1. The modules pane
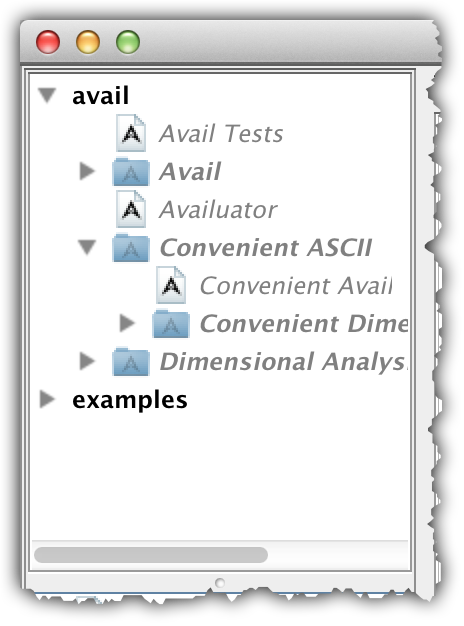
README that the Avail workbench depends on the AVAIL_ROOTS environment variable for the root directories where Avail libraries may be found. If this variable is not explicitly set before the workbench is opened, the default roots avail and examples will be used. avail is the root of the standard library, which contains all of the functionality needed to program in Avail. Accordingly, this root must always be present. examples contains smallish programs that demonstrate various uses of Avail. This includes the source modules for all of the tutorials featured on the website.
Regardless of how they are specified, roots show up in the workbench modules pane as top-level, collapsible entities, and are arranged in the order that they were specified. As top-level entities of hierarchical structures, they are left-justified within the pane. Each root name is bolded, and the display visibility of each root's contents can be toggled by clicking on the triangle to the left of the root name.
Every time it starts up, the workbench determines the contents of each root by recursively exploring its corresponding directory. Within a root directory, all file names that end with .avail are considered, regardless of their actual content, to be Avail modules named by whatever precedes this extension. Files without this extension are ignored. Similarly, all directory names that end with .avail are considered to be Avail module packages, and all other directories and their contents are ignored. Within each root and package, there may be any number of modules and packages. They are displayed in the modules pane in lexicographic order. Module names appear to the right of a .avail file icon (![]() ), and packages appear to the right of a the Avail package icon, which looks like a folder (
), and packages appear to the right of a the Avail package icon, which looks like a folder (![]() ).
).
The Avail compiler requires that each package directory contain an identically-named file, just inside, to function as the package representative module. Realistically, this representative is the package, because it encapsulates the component modules and provides a common interface for their public functionality. But to preserve hierarchical structuring in the filesystem, we must use directories. Since the workbench is focused on Avail's structure, and not the filesystem's structure, it provides access to the package through the package name. Accordingly, the representative module is not listed as a subordinate, and because of the structural nature of the scan, it does not even require its presence. So, beware! A directory that doesn't actually include a representative module will display as a package, but the package will fail to compile. We'll get to compilation after we're done with the tour.
2. The entry points pane

.avail files and directories within its roots, it invokes the Avail compiler in a limited "header-scanning" mode. The compiler goes through all of the .avail files found, interpreting the information in its Uses, Extends, Names, and Entries sections in order to build the roots' dependency graphs. Whenever any module included anywhere on the dependency graph specifies a method in its Entries section, it is being marked as an Avail entry point. The method name and path are stored into a list, and that list is the source of information for the workbench's entry points pane.
Though entry points may occur at any depth within their own package hierarchy, entry points are Avail's equivalent of the classic main() method: each is a top-level program. So instead of displaying entry points hierarchically, they are instead grouped by their source module's full path. These path headings are displayed in bold and arranged in lexicographic order. The display visibility of a path's entry points can be toggled by clicking on the triangle to the left of the path. When visible, entry points common to a single path are displayed slightly indented below their path heading, and are listed in lexicographic order.
3. The text input field

Yup. There it is, just sitting there, waiting for you to breathe life into it!
4. The transcript pane
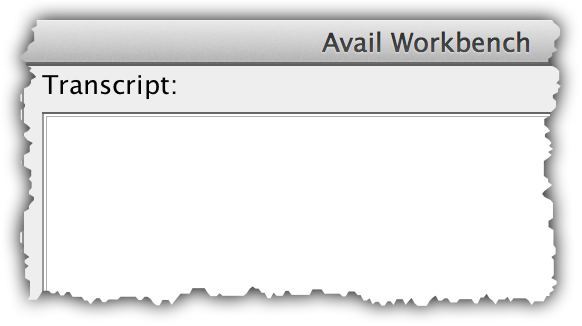
- Standard output text is displayed in
black. - Standard error text is displayed in
red. - Informational messages are displayed in
blue. - Commands, a.k.a. sends of entry points, are echoed in
magenta. - User input to active entry points is echoed in
green.
4. The menu bar
This section will be only a brief description of the menus and their features. During your exploration, note that many of the menu commands have keyboard shortcuts associated with them.-
avail-dev
This menu only appears on MacOS systems, and most of its content is OS-supplied. The one customized menu item it has is:- About avail-dev: Open the About window, which contains a link to the Avail website, the versions of Avail supported by the workbench instance, and the copyright notice. In non-Mac systems, this menu item appears in the Build menu.
-
Build
This menu offers commands for building modules listed in the modules pane and managing the binaries that have already been compiled to the repository and/or loaded into memory:- Build: Initiate an activation process for the selected module. If the binary version of the module does not already exist in the repository, or if the source file has been modified and does not have a matching binary in the repository, a new binary is created by compiling the module's source file. The workbench then ensures the binary is loaded into memory. Activation is disabled when no module is selected. This command also appears in the modules pane and entry points pane context menus.
- Cancel Build: Cancel the activation process that is underway. This command is disabled when no activation process is active.
- Unload: Unload the selected module's binaries from memory, forcing them to be reloaded from the repository the next time they are required. Targeted unloading is disabled when no module with a binary loaded into memory is selected. This command also appears in the modules pane context menu.
- Unload All: Unload all of the binaries in memory.
- Clean All: Unload all of the binaries in memory and delete all binary modules from the repository.
- Refresh: Forces the workbench to re-orient itself with respect to all source files. The
AVAIL_ROOTSenvironment variable will be read, the roots will be explored, and the module headers will be scanned again. The roots and modules in the modules pane and the entry points in the entry points pane will all be refreshed. This command also appears in the modules pane and entry points pane context menus.
-
Document
This menu offers commands for generating documentation for modules using the in-source Availdoc documentation, e.g. API documentation in the Stacks format:- Generate Documentation: Initiate documentation generation for the selected modules. Documentation generation is disabled when no modules are selected. This command also appears in the modules pane context menu.
- Set Documentation Path: Specify the local filesystem path where generated documentation should be deposited.
-
Run
This menu offers commands for interacting with the workbench:- Insert Entry Point: Insert the text invocation of the selected entry point into the text entry field. The argument positions of the method, represented with underscores in the method names, will remain, and must be filled with arguments in order for the command to be successful. Entry point insertion is disabled when no entry point is selected. This command also appears in the entry points pane context menu.
- Clear Transcript: Remove all content from the transcript pane. This command also appears in the transcript pane context menu.
Putting the "work" in workbench
Now, to make it go.In order for the workbench to actually do anything other than sit there looking pretty, you, dear user, will need to interact with it! But I bet that's what you've been waiting for.
The workbench serves two essential functions: Avail developers can use it to assist in module debugging and testing, and users can run Avail programs by entering commands. In order to take part in either of these activities, at least one module must be activated. Since you have, of course, read our fabulous documentation of modules, you know all about module dependencies: in order to use any target module, all of its upstream dependencies must be processed. And because you took the tour above, you know that there is a difference between a module being compiled and a module being loaded into memory: compiled modules reside in the repository, while loaded modules are available in the workbench's program memory for use. Activation of a module in the workbench ensures that module and its ancestors are all both compiled and loaded.
Activating modules
The modules pane distinguishes between modules that have not yet been activated in the current workbench instance and those that have. In the tour screenshot, all of the modules appeared in grey italic text. This is because a freshly-opened workbench will have no modules active.To activate a module, and all of its upstream modules, you can do any of the following:
- Double-click the module name
- Right-click the module name to bring up the context menu, and then click the "Build" menu item
- Select the module name in the modules pane, click on the Build menu, and then click on the "Build" menu item
When an activation is started, the transcript will be cleared of any old text automatically. While modules are being compiled and loaded, a progress bar appears temporarily above the transcript pane to display the overall progress of activating the selected module and all of its ancestors. Relatively quick progress over a module or group of modules may indicate that there was already a binary available in the repository. Slower progress means either that the module binary was not present in the repository or that it is exceptionally large.
Avail modules are essentially directions to the Avail runtime. For example, module declarations and definitions tell the runtime to recognize and take meaning from certain specific text and syntax. Modules can also make the runtime do something, as opposed to learning something: print statements. Because the compilation of source modules and the loading of binary modules involves the runtime processing the directives in those modules, print statement output is displayed in the transcript pane in standard output text while modules are being compiled or loaded. The Avail standard library does not contain any print-to-standard-out statements, and such side-effects are highly discouraged in finished products; however, using temporary print statements to help you debug your code can be very advantageous.
Once a module activates successfully, i.e. without any compilation or dependency resolution errors, its name becomes un-italicized and turns from grey to black. After the full activation process is complete, the progress bar disappears and the transcript window displays the informational message Done (###s). where ### is the total activation process time in seconds.
Debugging
When there is an error in the compilation of your target module or one of its ancestors, the progress bar will disappear and the transcript pane will display, instandard error text, a code snippet of the offending module source followed by a veritable smörgåsbord of suggestions about what you might have done wrong. When the target module has ancestors, it's likely that at least one of them compiled and activated successfully. So while your buggy module and all of its descendants will remain grey, italic, and sad, the buggy module's ancestors may be standing proud. When you've made a change and are hopeful it will result in successful compilation, or at least want to see what it does wrong now, try activating the buggy module or any module downstream from it. Remember: any new activation request will clear the previous transcript contents, so don't try to activate something until after you are certain you can live with never seeing the current contents of the transcript pane again.
Activating and using entry points
You may notice that, as a result of activating a module, one or more entry points also become active. Whenever a module containing any entry points is activated, its entry points are too. Conversely, attempting to activate any entry point in a single module and activating the module path within the entry points pane both trigger an activation attempt on that module. If the attempt succeeds, all entry points in the same module will be activated.The end state of the workbench is the same regardless of whether a module was activated in the modules pane or the entry points pane. However, when an activation request is targeted on a single entry point, either by double-clicking the entry point name or selecting the "Insert Entry Point" menu option, the workbench assumes you are intending to use it! While the activation is in progress, the text input field is cleared and populated with the desired entry point name. The field remains disabled while the activation is in progress.
When the activation attempt has completed, either successfully or unsuccessfully, the field becomes writable. If the activation failed, the text remains in the field, but any attempt to use it will only lead to heartbreak. Go back and debug, my friend.
On the other hand, if it was successful, congratulations! If the entry point requires any arguments, as indicated by the underscore "blanks", the first blank will be selected for ease of completion.
A semantically correct send of an entry point, AKA a command requires that:
- The entry point is activated.
- The entry point name is in the text input field, and all argument blanks have been replaced with arguments.
- The supplied arguments are semantically correct for the message.
- The cursor is in the text input field, and the Enter key is pressed!
Unlike activation attempts, commands do not clear the existing contents of the transcript. Instead, new text is appended. (If you would like to clear the transcript, you can always do so manually.) Your command is echoed to the next line of the transcript in magenta. Text output produced by the entry point is displayed in black. While your entry point is running, the text entry field background is green, indicating that any text submitted is interpreted as input to the running process, and your input text is echoed to the transcript in green. If the entry point you invoked runs and finishes quickly without requiring user input, you might not even see the field's background color change.
If your command was not semantically correct, the workbench transcript will be appended with an error-text message saying that it failed to parse. When you enter a command, the workbench is able to leverage the full flexibility of Avail syntax. However, if there was no satisfactory match between what you entered and an existing entry point, it attempts to provide you help by parsing your command from left to right, counting the number of token matches between your command and each entry point, and displaying advisory messages about the entry points tied for highest match count. This means that if there are no matches between the first token of your command and the active entry points, it will list them all.
That's all (for now), folks!
Now that you know every nook and cranny of the Avail workbench, go give it a spin! Try running an entry point created in one of our tutorials. Or read about the Availuator expression evaluator entry point, and discover how common computer science concepts map onto Avail by reading the expression cookbook.| Return to Documentation |